Quick Answer
Braun Series 7 not shaving? Remove and clean the cassette, clear the head mount, test the shaver on a full charge, and inspect the foil for dents, tears, or loose areas. Reseat the cassette and confirm that it matches the code on your old head or the complete shaver model. Persistent pulling or missed hair with a clean, correctly fitted cassette usually points to cassette wear or damage. If a verified replacement does not restore cutting, the battery or shaver drive may need service.
Last updated: August 7, 2026 | Author: William | Estimated reading time: 7 minutes
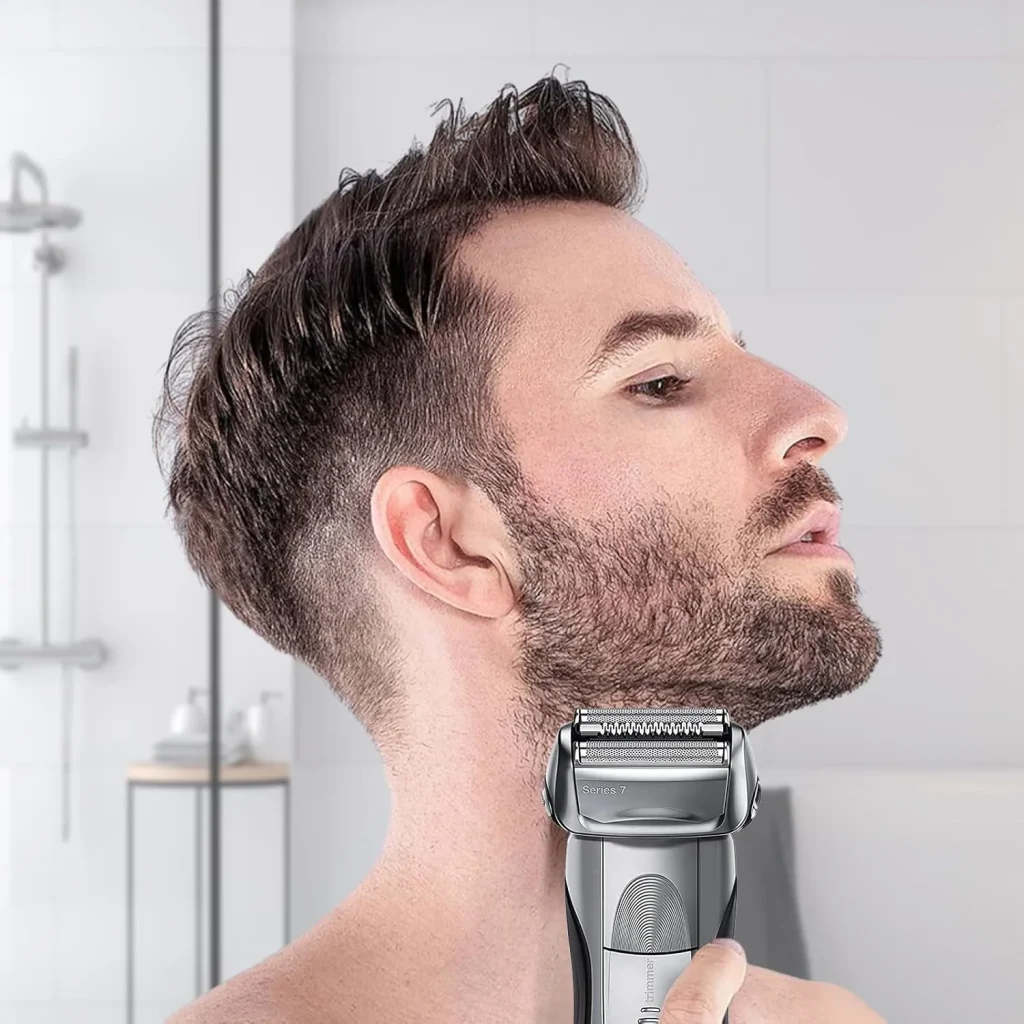
Match the Symptom to the First Check
Do not replace the cassette until you have separated a cleaning or power problem from actual head wear. Start with the symptom you can reproduce.
| What the shaver is doing | Most useful first check | When the cassette becomes the likely problem |
|---|---|---|
| Pulling individual hairs | Clean trapped hair and residue from the cassette | Pulling continues after cleaning and the foil or cutters show wear or damage |
| Running but missing short stubble | Test on a full charge, then change shaving direction | The shaver has normal power but needs repeated passes with a clean head |
| No longer shaving as close as before | Inspect the foil and compare performance after cleaning | The foil is worn, loose, dented, or no longer cuts consistently |
| Head rattles, sits high, or releases on one side | Remove and reseat the cassette | The correct cassette will not remain secure or is physically damaged |
| New head fits but still cuts poorly | Recheck the part code, installation, and shaver power | A verified cassette works on the mount but the shaver still sounds weak or cuts inconsistently |
1. Clean the Cassette and Head Mount
Packed stubble, skin oil, and shaving residue can prevent hair from reaching the cutters cleanly. Turn the shaver off, remove the cassette, and clean it according to the instructions for your Series 7 model. Clear loose hair from the head mount with a soft cleaning brush. If the cassette is washable, follow the shaver manual for rinsing and let the parts dry before reassembly.
Do not poke a pin, blade, or other sharp object through the foil. Do not pry apart a cassette that is designed to be replaced as a complete foil-and-cutter unit. Either action can deform the cutting surface and turn a cleaning problem into a damaged-head problem.
Reinstall the dry cassette and test a small area with light pressure. If normal cutting returns, blockage was the likely cause. If the Braun Series 7 is still pulling hair or leaving the same patches behind, continue with the power and inspection checks.
2. Test the Shaver on a Full Charge
A low or deteriorating battery can make a usable cassette feel dull because the cutters are not being driven consistently. Charge the shaver fully using the correct charging setup, then compare its sound and cutting performance with the earlier shave.
Power is more likely to be involved when the shaver starts normally but slows under light contact, changes speed during the shave, or works better immediately after charging. A replacement cassette cannot repair a weak battery or drive mechanism. If full charge makes no difference, inspect the head before deciding whether the fault is in the cassette or the shaver body.
3. Inspect the Foil and Cassette
Remove the cassette and examine the foil under good light. Stop using it against your skin if you find:
- A tear, hole, split, or sharp edge in the foil.
- A dent that prevents the foil from sitting evenly.
- A loose section of foil or a cassette frame that has separated.
- Scraping, sharp pinching, or unusual heat during a short test.
A damaged foil is a replacement issue, not a shaving-technique problem. Continued use can scrape or pinch the skin. A cassette can also be worn without an obvious tear: persistent pulling, poorer closeness, and repeated passes after thorough cleaning are practical signs that the foil-and-cutter unit is no longer performing normally.
Pressing harder will not restore worn cutting surfaces. It pushes the foil more firmly against the skin and can increase irritation while doing little to solve missed hair.
4. Reseat the Cassette
An unevenly installed cassette may rattle, bind, or fail to keep the cutters aligned with the shaver drive. Switch the shaver off, remove the cassette, and check the mount for trapped debris. Center the head over the mount and press only on its rigid sides until it sits flat and secure. Do not press on the foil.
Turn the shaver on briefly with the cassette installed. Stop if the head lifts on one side, produces an abnormal scraping sound, or will not stay attached. If it still sits crooked or will not lock without force, use the Braun Series 7 replacement head fit and click guide to separate alignment, obstruction, wrong-part, and mount problems.
5. Confirm the Correct Series 7 Cassette Family
The words “Series 7” do not identify one universal replacement cassette. The Series 7 range includes a classic 70S/70B cassette path and a newer 73S path. Treat those as different replacement families.
Check the code printed on the old cassette first. If that code is missing or unreadable, use the complete model number from the shaver, its manual, or a previous order. Do not choose by cassette color, appearance, or the Series 7 name alone. The Braun Series 7 cassette compatibility guide provides the separate selection check without turning this troubleshooting page into a model list.
A head that appears to attach is not automatically the correct part. Recheck compatibility when a new cassette sits differently from the old one, restricts normal head movement, sounds strained, or gives worse results immediately after installation.
6. Correct the Shaving Method
Technique matters after the head, fit, and power checks pass. Use light pressure and keep the foil in even contact with the skin. Move the shaver against the direction of hair growth rather than repeating passes in only one direction. Stretching the skin gently can help short or flat-lying hairs enter the foil openings.
Trim unusually long growth before using the foil head. Long, flat, or irregular hairs are more likely to be tugged or missed, especially when the cassette is already carrying debris. Clean the head instead of increasing pressure when performance worsens during the shave.
If the problem began immediately after installing a new, correctly matched cassette and the head is secure and undamaged, a brief change in feel does not automatically mean failure. Sharp pulling, scraping, worsening irritation, or a loose head is not something to shave through. The new replacement shaver head break-in guide separates mild adjustment from a fit or hardware problem.
7. Decide Whether the Fault Is in the Head or Shaver Body
Use this sequence before buying another part:
- Clean and dry the cassette and head mount.
- Test the shaver on a full charge.
- Inspect the foil and cassette frame for wear or damage.
- Reseat the head and confirm that it remains level and secure.
- Verify the old cassette code or complete shaver model.
- Replace the cassette only when wear, damage, or persistent poor cutting justifies it.
The shaver body becomes the stronger suspect when a clean, correctly fitted, undamaged cassette does not move or sound normal, performance changes with battery level, or a verified replacement cassette fails to improve cutting. At that point, check the exact-model manual or use an appropriate repair or service route. Buying a second head is unlikely to solve a battery, connection, or drive fault.
When a Replacement Head Is the Right Fix
Replace the cassette when the foil is torn, dented, loose, or sharp, or when pulling and poor closeness continue after cleaning, charging, correct installation, and technique checks. Confirm the code on the old head before ordering because the Series 7 name covers more than one cassette family.
Once the cassette family is verified, compare the available Braun Series 7 replacement head options and select the option that matches your existing part or confirmed model. Check the product description before ordering if genuine-brand status matters; a compatible replacement is not automatically a genuine Braun part.
FAQ
Why is my Braun Series 7 pulling hair?
The cassette may be clogged, worn, damaged, incorrectly seated, or wrong for the shaver. Long or flat-lying hair and excessive pressure can also increase pulling. Clean and reseat the cassette first, test on a full charge, then inspect the foil and confirm the replacement family if pulling continues.
Why is my Braun Series 7 running but not cutting?
First check for packed hair inside the cassette and test the shaver after a full charge. If it runs normally but leaves the same stubble after cleaning and changing shaving direction, the cassette may be worn. If a verified cassette also performs poorly, the shaver’s battery or drive may be at fault.
Can cleaning restore a Braun Series 7 that is not shaving closely?
Yes, when hair, oil, or shaving residue is blocking the cassette. Clean the head and mount according to the exact model’s instructions, let washable parts dry, and retest with light pressure. Cleaning will not repair torn foil, deformed parts, or worn cutting surfaces.
Should I press harder when the shaver misses hair?
No. Extra pressure can increase friction and irritation without correcting a blocked, worn, or weakly driven cassette. Clean the head, use a full charge, shave against hair growth, and inspect the foil instead.
Why is a new Series 7 head still not shaving properly?
Confirm that the new cassette matches the old part code or complete shaver model, sits flat, and remains secure. If fit and installation are correct, clean the new head and test the shaver on a full charge. Continued poor cutting can point to a defective or incompatible cassette or a fault in the shaver body.
How can I tell whether the cassette or shaver body is faulty?
Visible foil damage, persistent pulling, and poor closeness with normal shaver power point toward the cassette. Speed changes, weak operation after charging, abnormal drive sounds, or no improvement with a verified replacement point more strongly toward the shaver body.