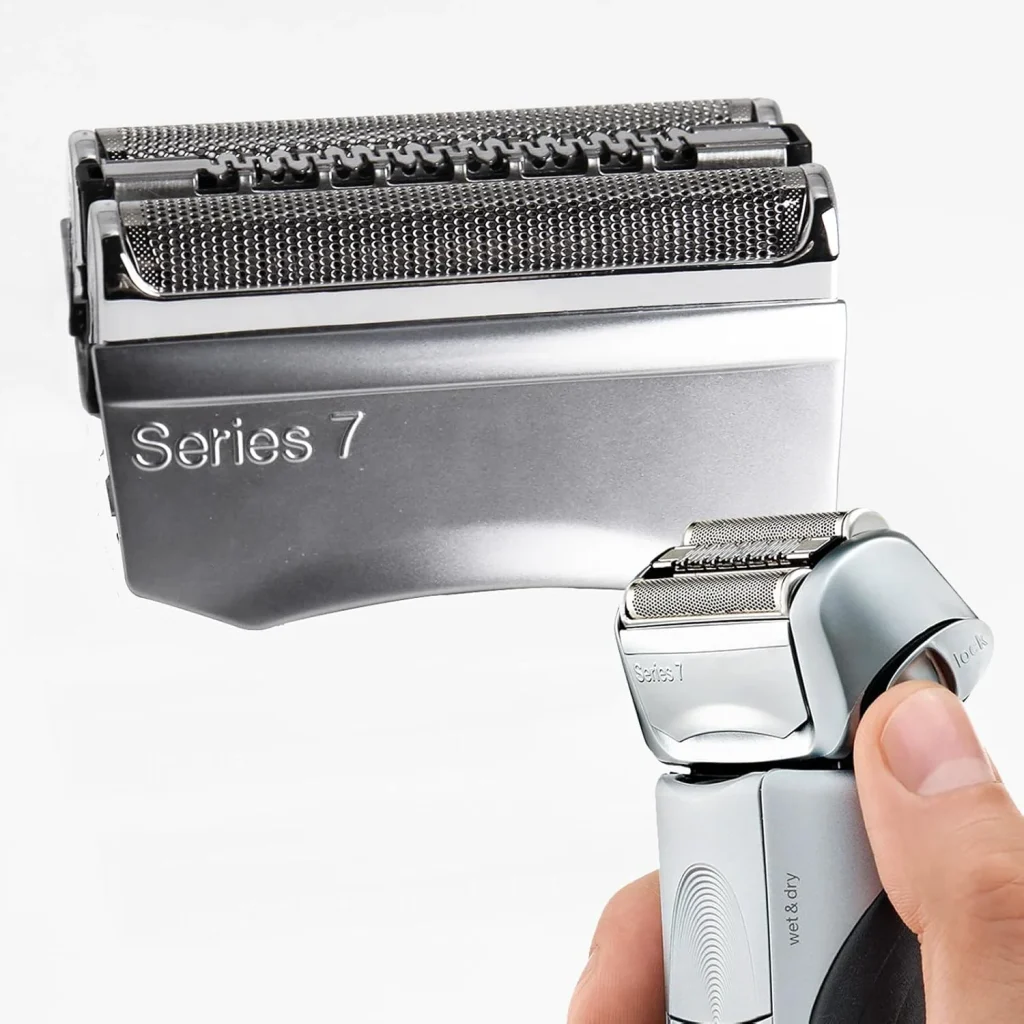
Wondering how to replace your Braun Series 7 shaver head? You’re in the right place. This is a simple, 30-second task that makes your shaver feel brand new again. Whether you have an older 70S model or the newer 73S, the process is nearly identical and requires no tools.
Following this guide ensures you do it correctly, avoid damaging your shaver, and get back to a close, comfortable shave in minutes.
Last Updated: Sep 2025 | Estimated Read Time: 4 minutes
Table of Contents
Step-by-Step Guide: Changing Your Shaver Head
Before you start, make sure you have the correct replacement cassette for your shaver model. If you’re unsure, check our Braun Series 7 Compatibility Chart.
Step 1: The Braun Shaver Head Removal
The foil and cutter cassette is a single piece. To remove it, you don’t need to pull or twist it forcefully.
Simply press the release buttons located on the sides of the shaver head. On most models, these are two small, textured buttons. Squeeze them simultaneously, and the cassette will pop right off. You can then lift it away easily.
What If Your Braun Series 7 Head Is Stuck?
Don’t panic! A head can get stuck due to dirt, soap scum, or slight warping from being dropped. Do not use tools like pliers, as this will damage your shaver.
- Wiggle Gently: While pressing the release buttons, gently wiggle the cassette from side to side. This can often dislodge any debris holding it in place.
- Rinse Under Warm Water: Turn the shaver off. Run the head under warm water for 30 seconds while pressing the release buttons. The water can help dissolve soap scum.
- Tap Lightly: With the buttons pressed, turn the shaver upside down and tap the back of it against your palm. Sometimes this is enough to break the seal.
Step 2: New Braun Shaver Head Installation
This is the easiest part. Take your new shaver head out of its packaging. There’s no need to separate the foil from the cutter.
Align the new cassette with the top of your shaver and simply press down until it clicks firmly into place. You will hear and feel a distinct “click,” which confirms it is securely attached. There’s no wrong way to orient it; it only fits one way. That’s it—your change of the Braun foil and cutter is complete!

Step 3 (Optional): Reset the Replacement Light
Some Braun Series 7 models have an indicator light that reminds you to replace the head after 18 months. After installing the new head, you may need to reset this.
To reset the light, press and hold the shaver’s power button for about 5-10 seconds. The shaver will beep, and the replacement symbol will disappear.
Braun recommends replacing the cassette every 18 months for optimal performance and hygiene. You may also notice signs like hair pulling, increased skin irritation, or a less close shave, which indicate it's time for a replacement.
No. On the Braun Series 7 cassette system (both 70S and 73S), the foil and cutter block are integrated into a single unit. They are designed to wear down together and must be replaced as one piece for proper performance.
It's a great idea! With the old cassette removed, use the small brush that came with your shaver (or an old toothbrush) to gently sweep out any hair clippings and dust from the shaver's drive mechanism. This ensures a clean connection for your new head.